Get Started
Let's discover OML Vision in less than 5 minutes.
Getting Started
VSCode Terminology (Optional)
While not required, it is recommended to read the documentation on VSCode terminology as it will be referenced heavily. Read more here
Install OML Vision
VSCode Marketplace (Automatic Installation)
- Go to VSCode Marketplace and install the extension from there.
VSIX File (Manual Installation)
- Go to latest release of OML Vision
- Download the VSIX file
- Install the OML Vision extension using the downloaded VSIX file. Helpful guide here
What you'll need
Windows
- Install scoop https://scoop.sh/#/
- Use scoop to install
git,nodejs,nvm,yarn,java17andvisual studio codeif not already installed.
scoop bucket add main
scoop bucket add extras
scoop bucket add java
scoop install main/git
scoop install main/nodejs
scoop install main/nvm
scoop install main/yarn
scoop install java/openjdk17
scoop install extras/vscode
- The version of VSCode must be at
1.78.2or newer. - Install the following VSCode extensions if not already installed
code --install-extension vscjava.vscode-java-pack
code --install-extension vscjava.vscode-gradle
macOS
- Install homebrew https://brew.sh
- Use scoop to install
git,nodejs,nvm,yarnandvisual studio codeif not already installed.
brew install git
brew install nodejs
brew install nvm
brew install yarn
brew install openjdk@17
brew install --cask visual-studio-code
- The version of VSCode must be at
1.78.2or newer. - Install the following VSCode extensions
code --install-extension vscjava.vscode-java-pack
code --install-extension vscjava.vscode-gradle
Load OML Model Data
OML Vision is designed to work with OML (Ontological Modeling Language) models.
Start from Scratch
Tutorials on how to create an OML model from scratch can be found here
OML Vision works with viewpoints which will be covered in Layouts found here
Use existing OML model
If you want to see the capabilities of OML Vision without creating your own OML model you may use one of the following OML models:
- Kepler16b: A hypothetical spacecraft that will explore the Kepler16b exoplanet
- Open Source Rover: A descriptive model of the JPL Open Source Rover
-
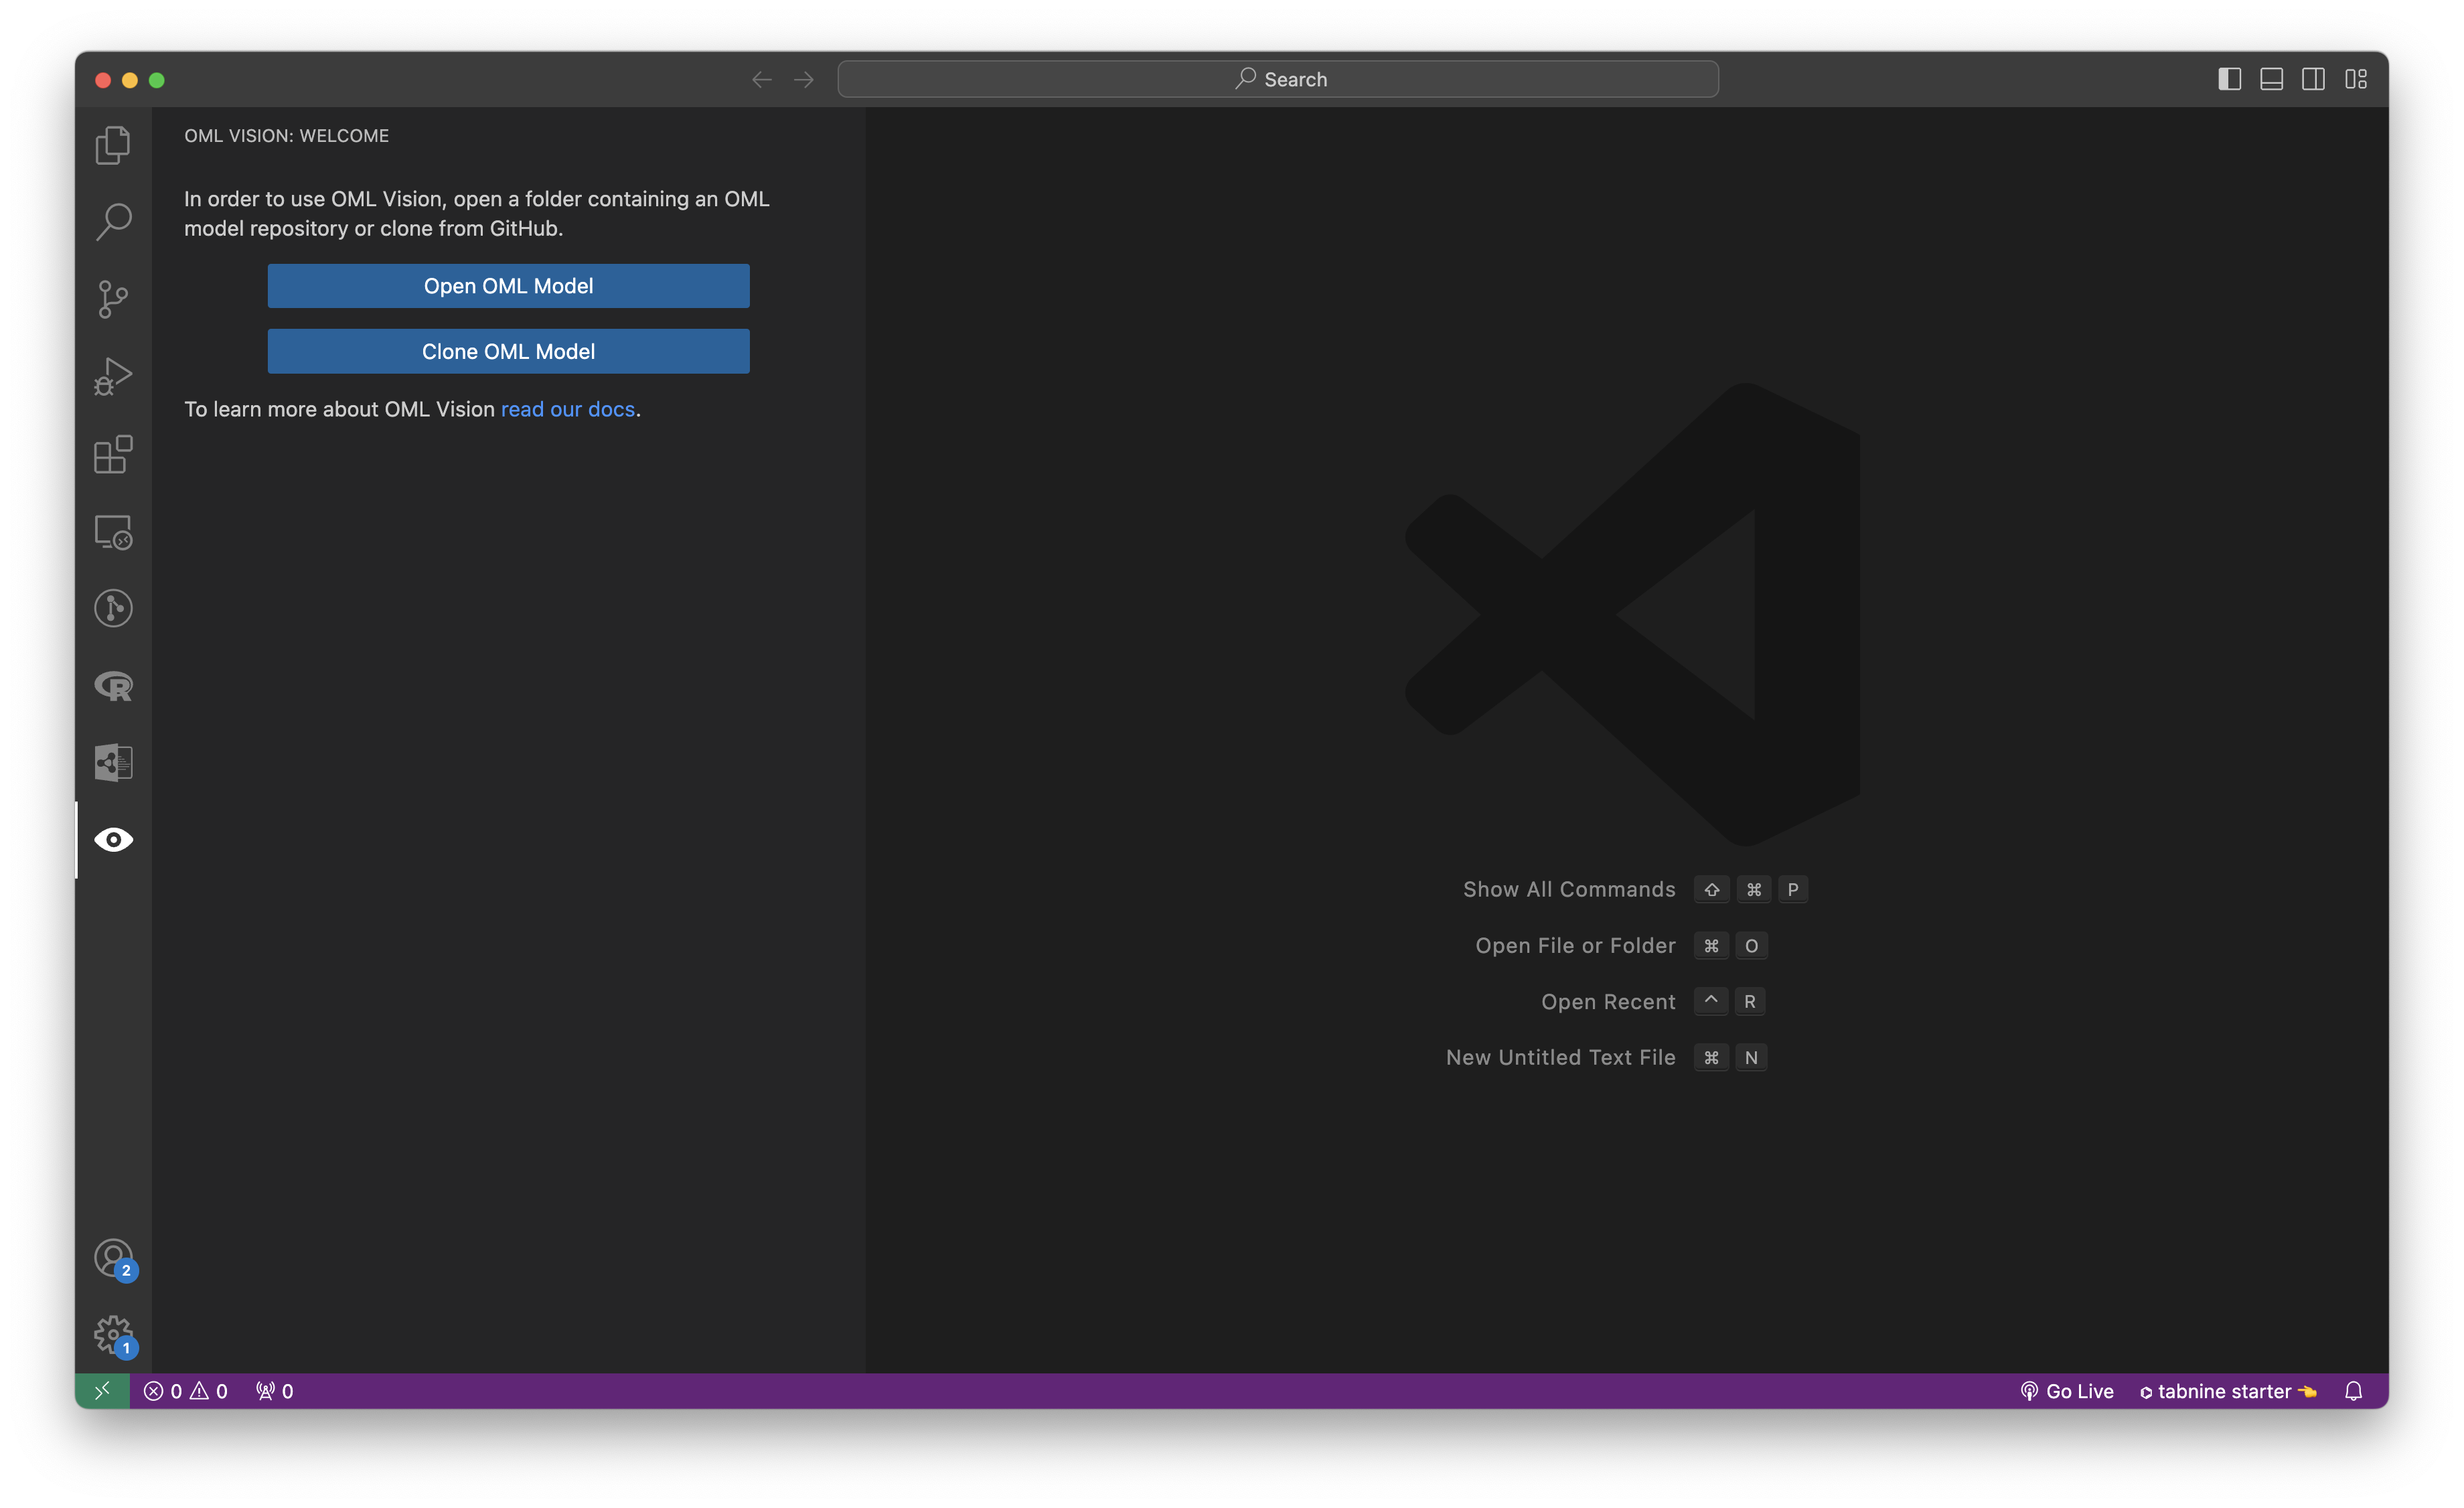
Click the eye icon in the sidebar which will activate the OML Vision extension
-
Your screen should look like this

-
Click
Clone OML Modeland enter in this URL https://github.com/pogi7/kepler16b-example.git
You can also run this command from the command line using
git clone https://github.com/pogi7/kepler16b-example.git
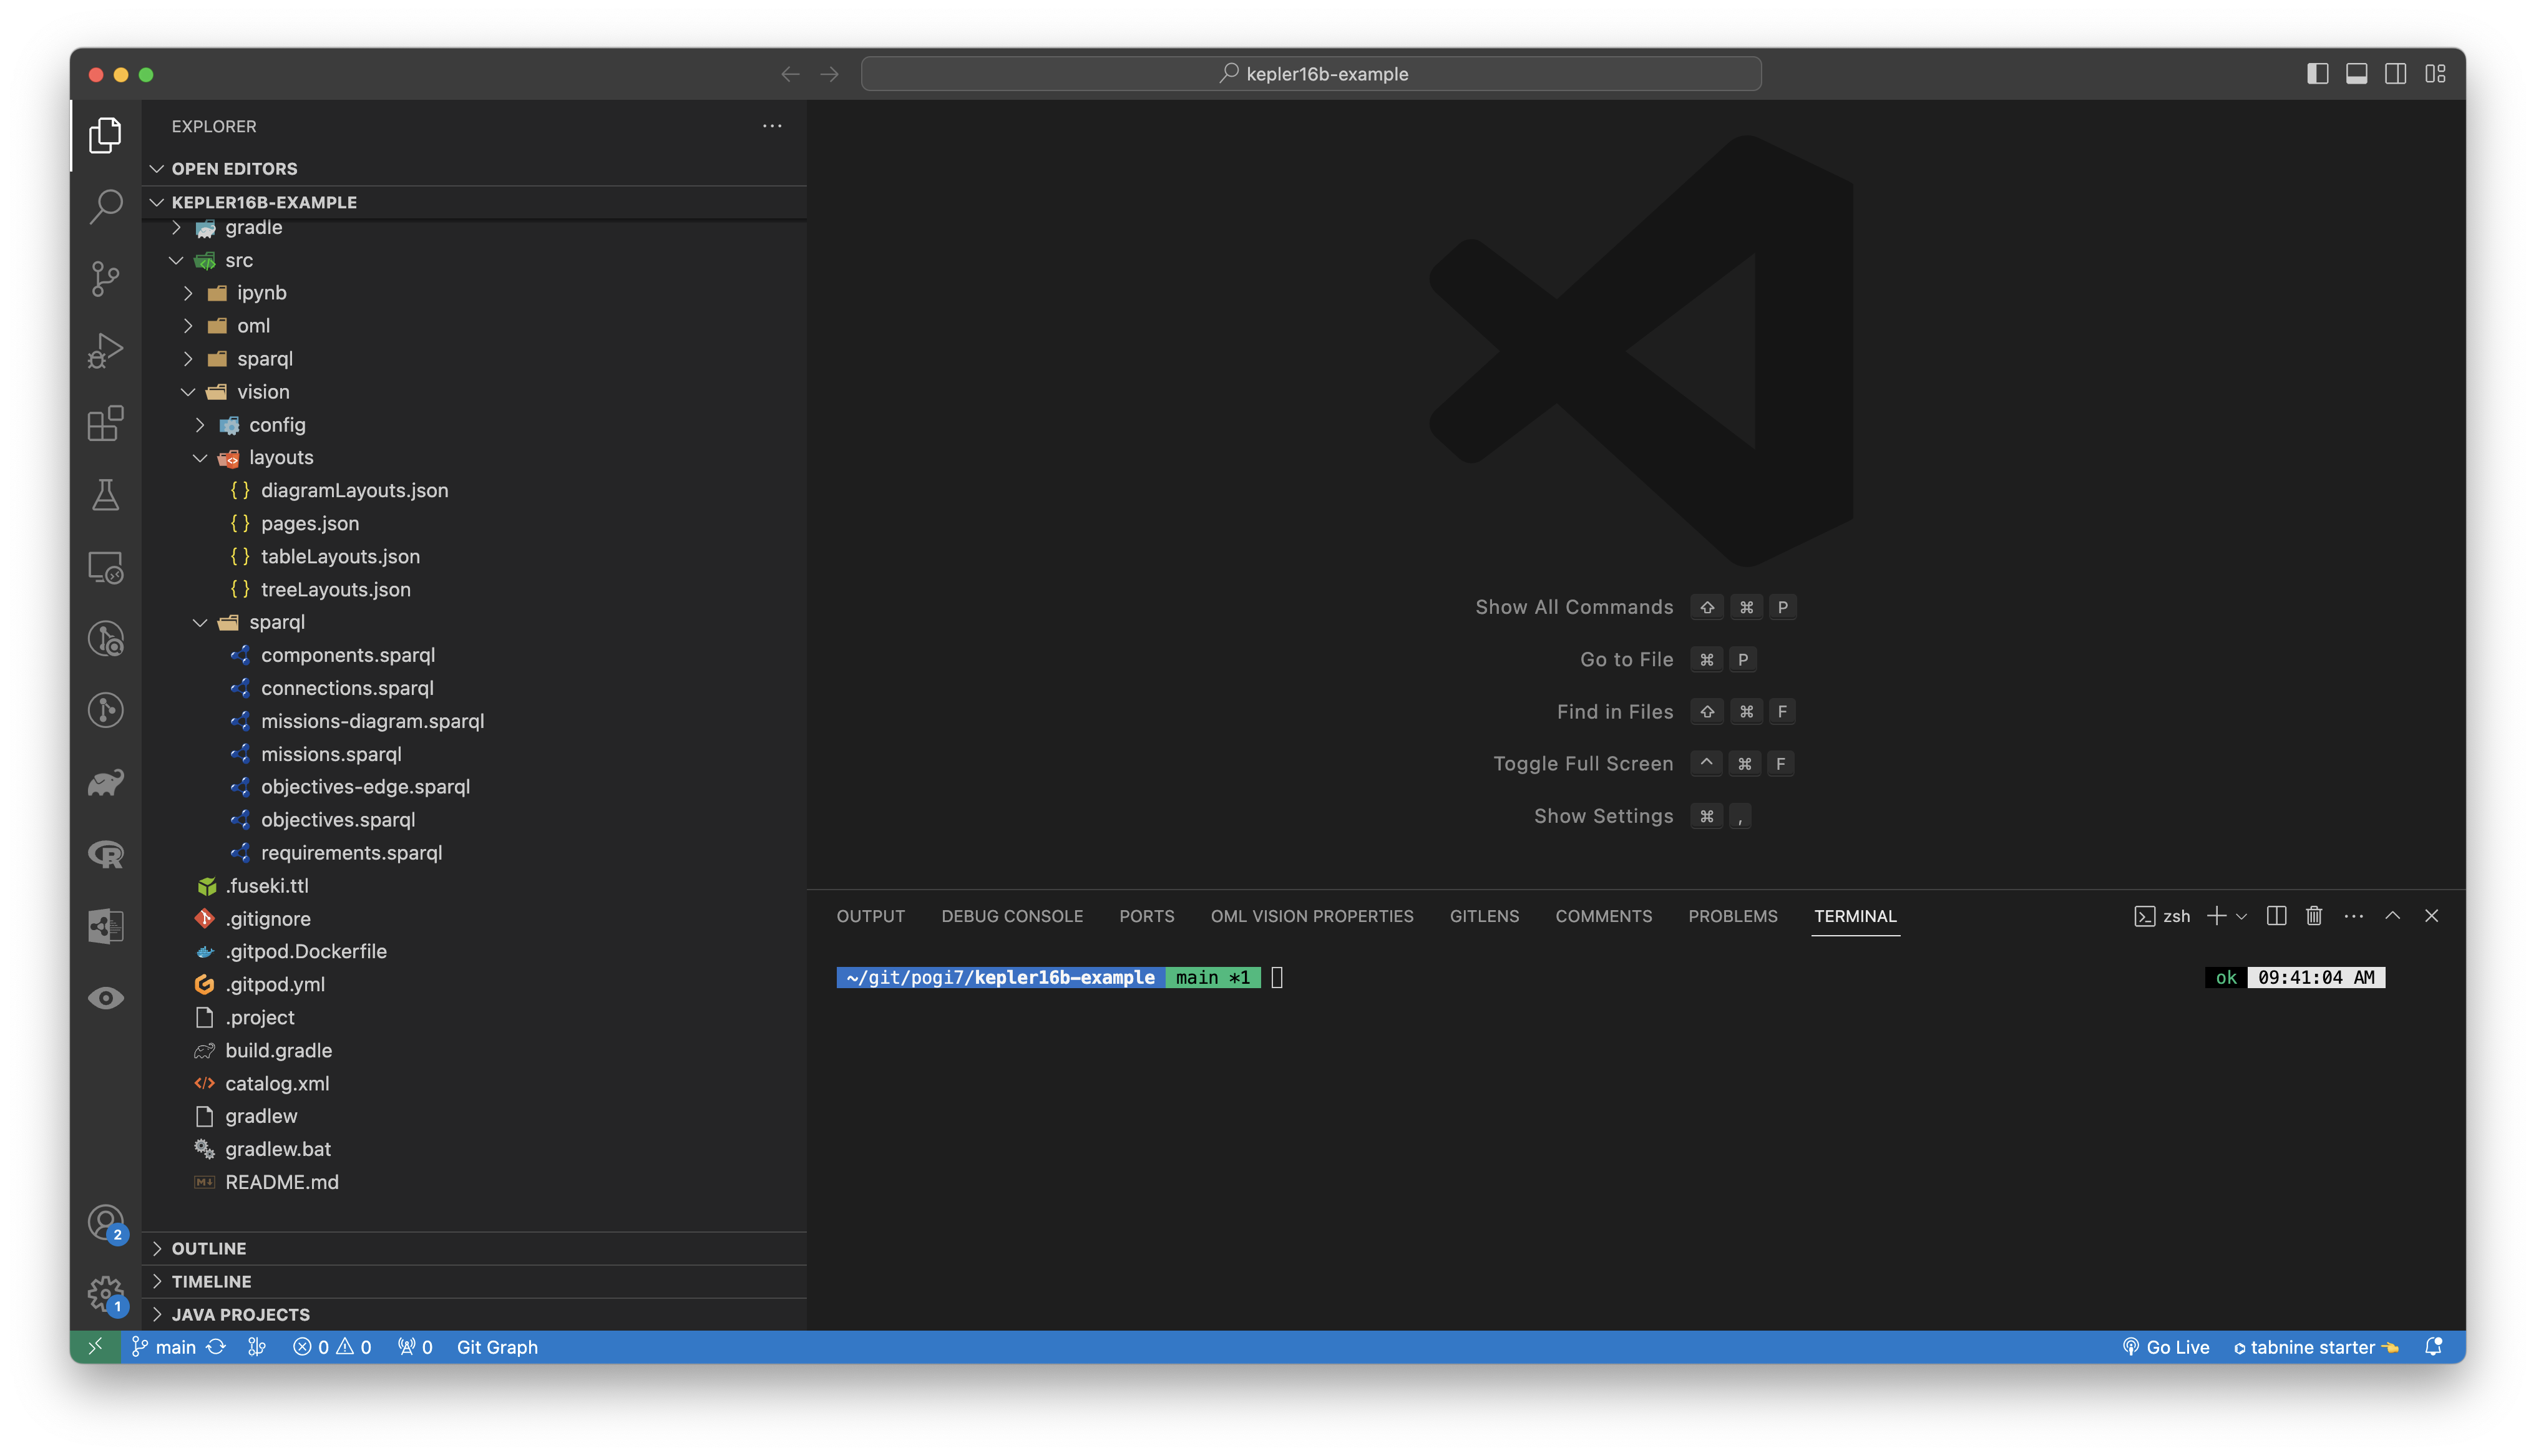
- Open the kepler16b-example OML model in VSCode
Start OML Vision
-
Your screen should look like this

-
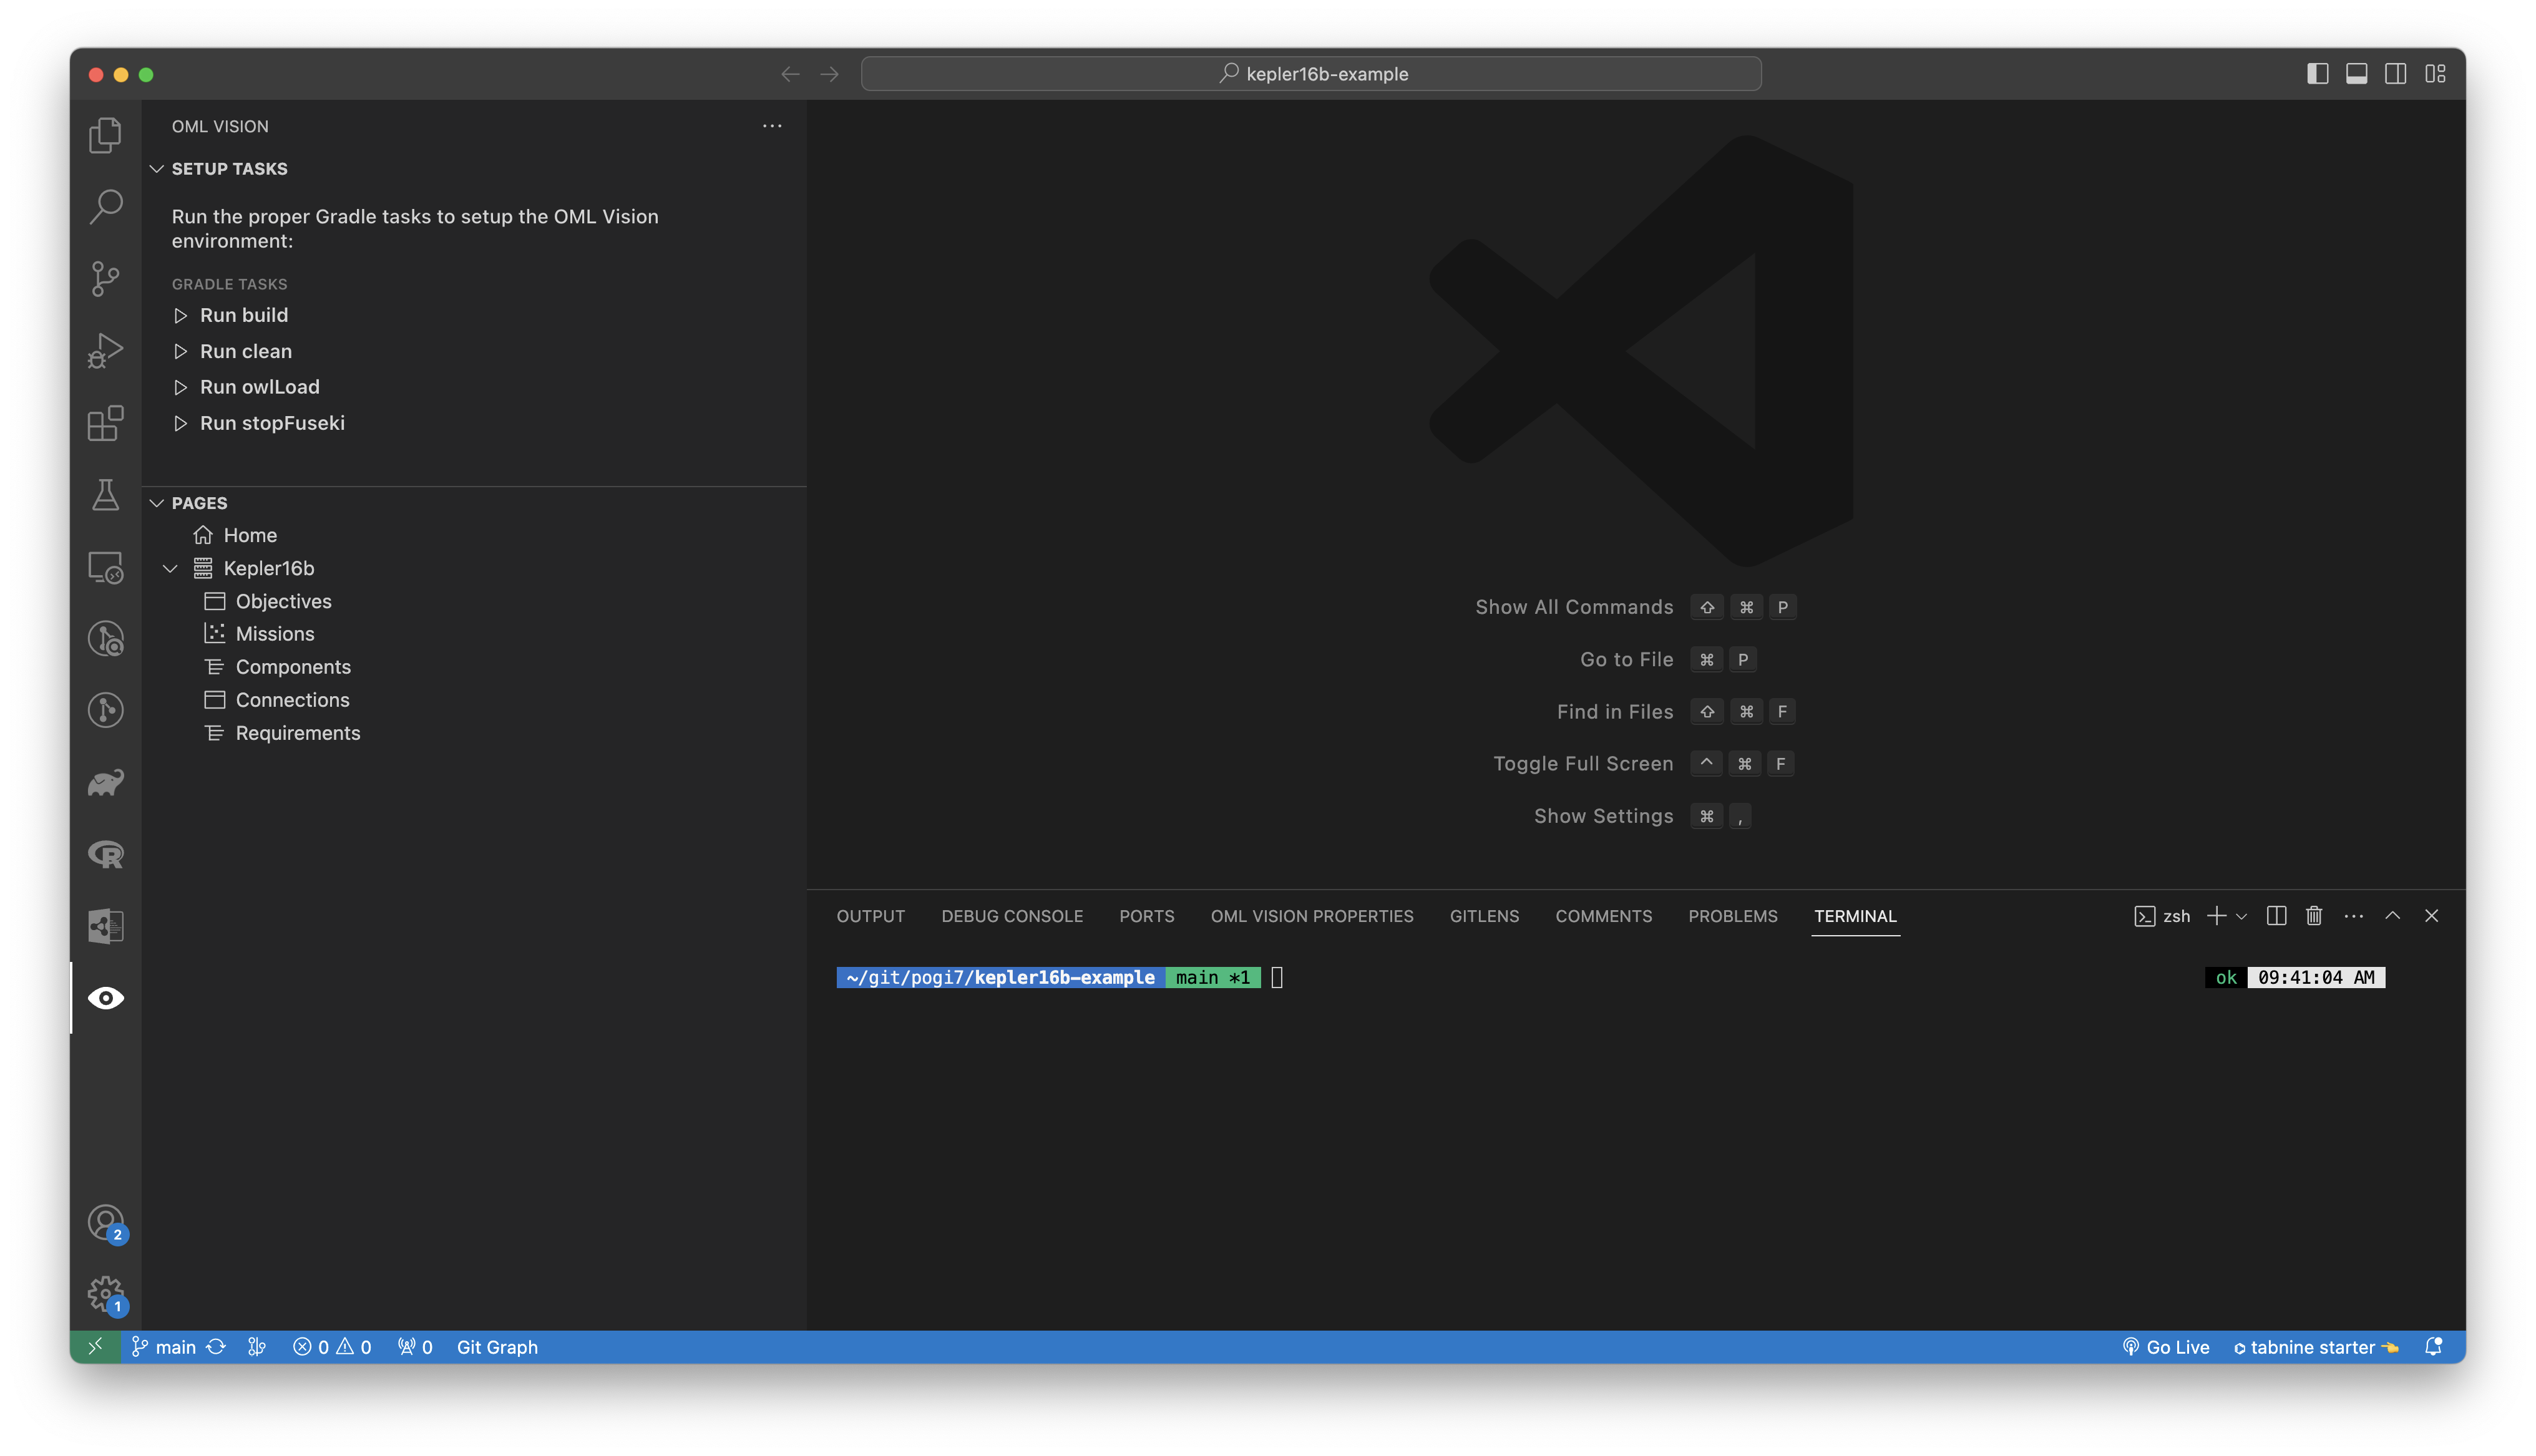
Click the eye icon in the sidebar which will activate the OML Vision extension
-
Your screen should look like this

-
Data must be loaded into the in-memory RDF triplestore for OML Vision to render views
-
Click
Run clean(This will clear the cache i.e.delete the build folder)
You can also run this command from the command line using
./gradlew clean
Look in the build.gradle file for a list of commands
- Click
Run owlLoad(This will load data into the in-memory RDF triplestore)
You can also run this command from the command line using
./gradlew owlLoad
Look in the build.gradle file for a list of commands
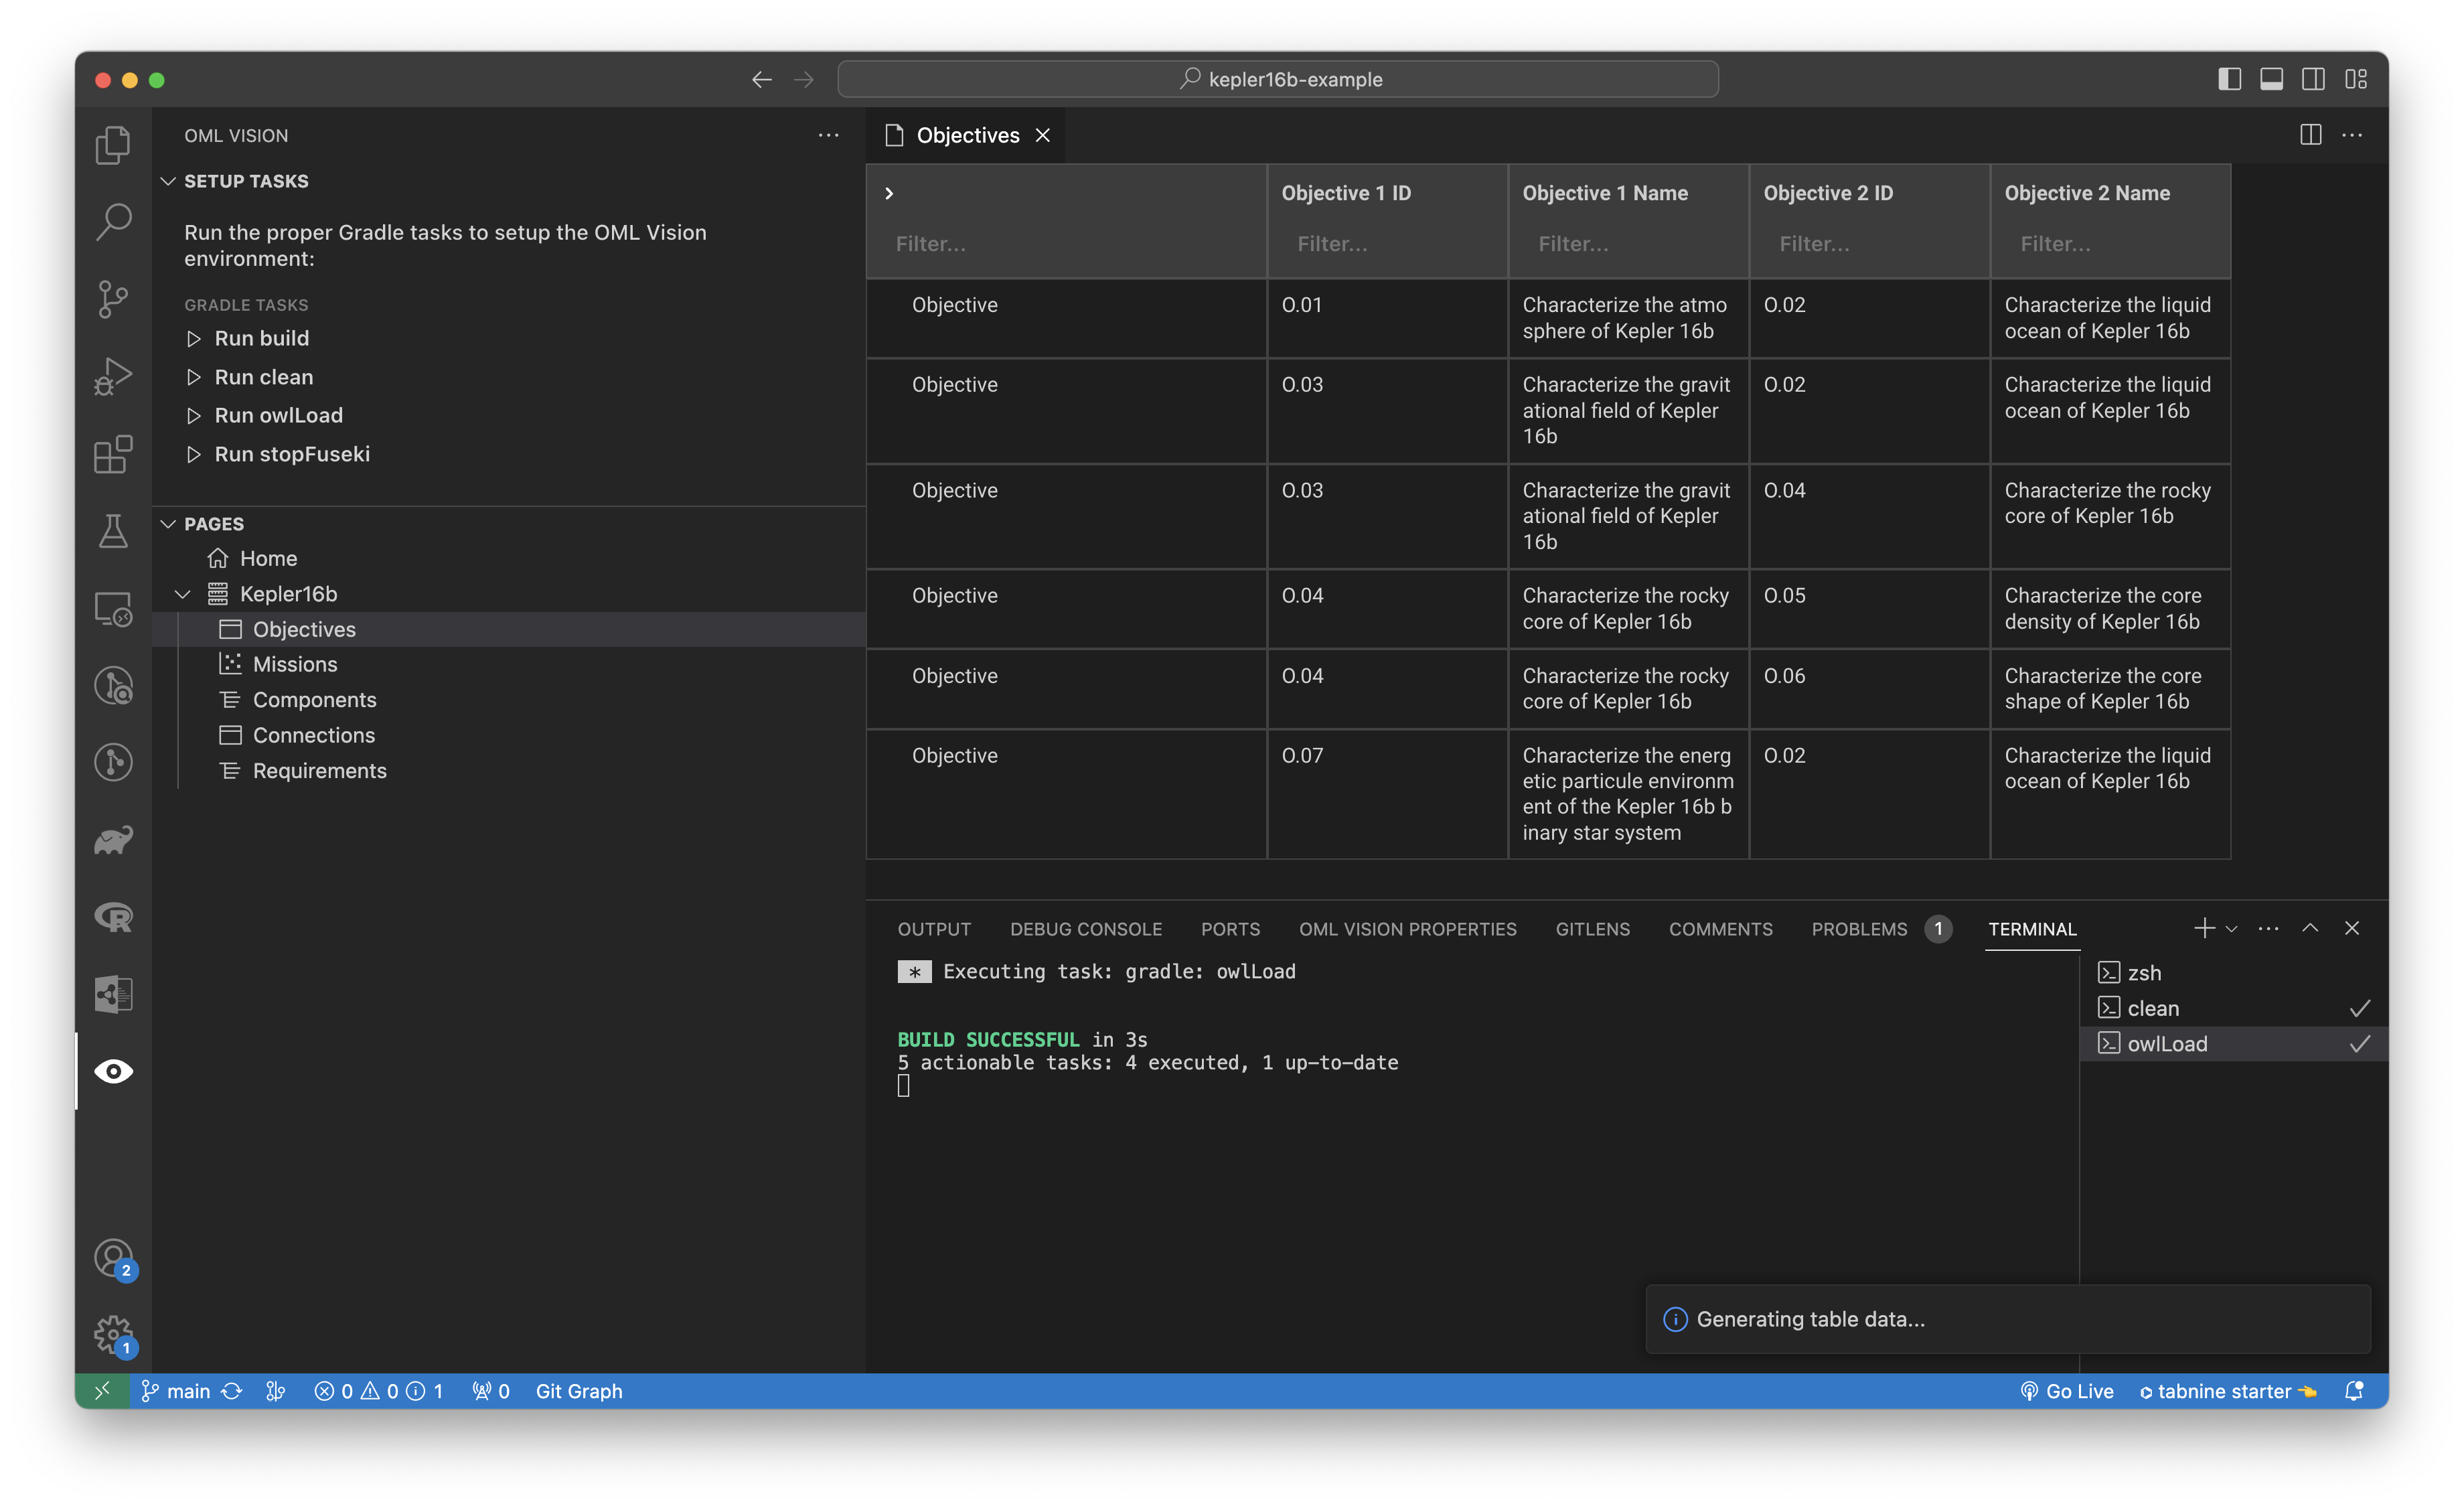
- Click
Objectives - Your screen should look like this
